Installing Arabic Language Pack for MOSS 2007 over Windows Server 2008

- Details
- Published: Sunday, 30 November 2008 21:00
Installing MOSS 2007 language pack should be straight forawrd. You install the language pack, you run the SharePoint Technologies Wizard and you are done. Right away you can create multilingual sites easily. But the problem happens when you insall MOSS over Windows 2008 Server, while Windows 2008 Server does not accept installing the MOSS 2008 unless it is loaded with SP1, it is also obvious that the same thing goes for the Language Pack.
The story happened when I tried to install the Arabic language pack. I went with the same steps I did many times before over Windows 2003. I downloaded the language pack from Office site, installed it and then installed the SP1 for the language pack and ran the Windows SharePint Technolgies wizard after each installation, yet no language choice when creating a new site. I searched the whole web for a solution, I did not even found anyone who claims this happened, maybe no one else tried the Arabic Language Pack installation on a Windows Server 2008 before. After along trying time I figured it all out and here is what I found.
1- First download the language pack from this URL:
32 Bit version
http://www.microsoft.com/downloads/details.aspx?displaylang=ar&FamilyID=2447426b-8689-4768-bff0-cbb511599a45
64 Bit Version
http://www.microsoft.com/downloads/details.aspx?familyid=318D8562-58BD-4329-B1F6-F1941A38BC7F&displaylang=ar
The file name is: "ServerLanguagePack.img"
2- Then download the SP1 for the language pack from this URL:
32 Bit Version
http://www.microsoft.com/downloads/details.aspx?displaylang=ar&FamilyID=3a6c26fd-0beb-40d5-8cba-15164faab150
64 Bit Version
http://www.microsoft.com/downloads/details.aspx?FamilyId=56681742-7D2C-4A6F-9178-DACD32AADC6C&displaylang=ar
The file name is: "officeserverlp2007sp1-kb936984-x86-fullfile-ar-sa.exe"
The first file is a .img file, you need a software to extract this file like WinISO for example. The files and folders after extraction will look like this when you extract it to a folder that you know:

Now as you see there is a folder called "Updates" but it is amost empty but from a "README.txt" file.
3- Now go to the SP1 folder where you downloaded it and you will notice it is a .exe file.

We need to extract this file t get the zipped file inside it. This cannot be done from a windows GUI interface, we need a command to do this.
4- To extract the "officeserverlp2007sp1-kb936984-x86-fullfile-ar-sa.exe", put it in a folder that you know - in my case it was on the "D:" root - for easier access. Then run the command line tool and type the extract command to another folder that you know, in my case it was "D:\ar". The command line looks like:
C:\>file.exe /extract:"C:/folder"
In my example it was D:\>officeserverlp2007sp1-kb936984-x86-fullfile-ar-sa.exe /extract:"D:\ar"

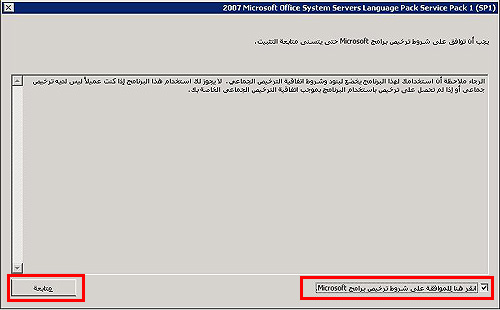
The extract confirmation window will appear, just check the check box and click the continue button as it shows in the image below:
There will be ten files after extraction as the image below:

5- Now find the updates folder inside the extracted language pack files:

Copy and paste all the ten extracted files from the "officeserverlp2007sp1-kb936984-x86-fullfile-ar-sa.exe" inside the updates folder. The folder will be having a one "README.txt" file as the image below:

6- Now go back one folderu up to the root of the Language Pack extracted folder and sun the "setup.exe" file to start installing the Language Pack.

The "Terms and Conditions" dialogue bo will appear, check the check box and click the continue button as the image below shows:

The installation will start and the progress will be shown in a progress bar

7- When the installation is done the finish installation box will appear, keeb the check box checked and click close as the image below:

8- The "SharePoint Products and Technologies Configuration Wizard" will start. Click the "Next" button as below:

The warning message appears, click "OK":

The configuration process starts. As you notice this time the steps are 7 not 8 as usual:

When the wizard finishes, click the "Finish" button:

9- Now go to your site, from site actions menu choose "Create Site", or choose "Create" if you did not enable publishing feature, the choose "Sites and Workspaces" from create page:

Now you will notice the language choice drop down before the site template choice box:

10- Choose the language that you want and then create you site.
This workaround worked fine in my case and I was able to create Arabic sites. Also the variation feature worked fine after that.